
Your first design
This quickstart takes you from an empty canvas to an exported machine file. It touches each major step once; follow the links for the detail.
1. Set your hoop
Section titled “1. Set your hoop”Before you draw, turn on a hoop frame that matches the machine and hoop you’ll stitch on. The dashed hoop outline keeps your design inside the safe sewing area.
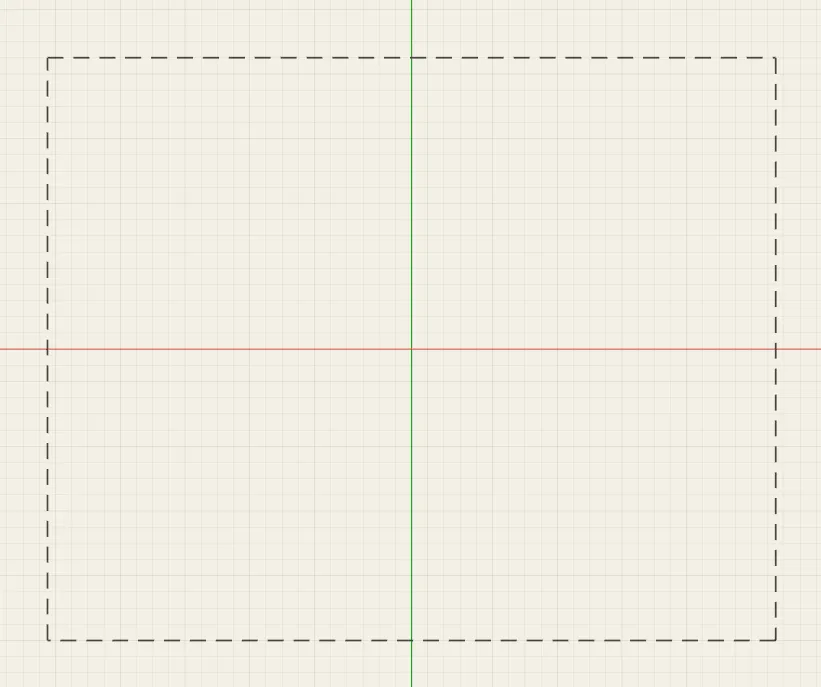 A hoop frame on the canvas — the dashed outline marks the safe sewing area.
2. Draw a shape
Section titled “2. Draw a shape”Pick a create tool from the bottom of the toolbar and make your first object:
- Shape for a quick rectangle, ellipse, star or polygon — drag on the canvas to place it. See Shapes.
- Pen (
B) to draw a custom Bézier path — click to place anchors, click-drag for curves.
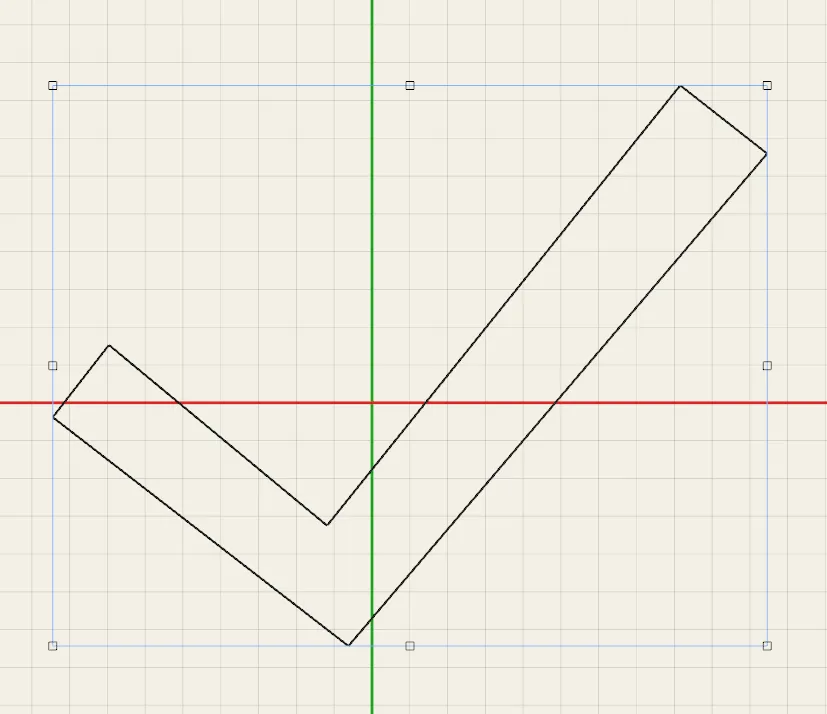 Placing a first object on the canvas.
3. Assign a stitch type
Section titled “3. Assign a stitch type”With the object selected, open the Stitches tab in the side panel and choose a stitch style. As a starting point:
- Satin column for lettering and borders.
- A fill (tatami/parallel) for larger areas.
- Running or bean for outlines and detail.
Each stitch type has its own settings — spacing, width, underlay and so on. See the Stitch types overview.
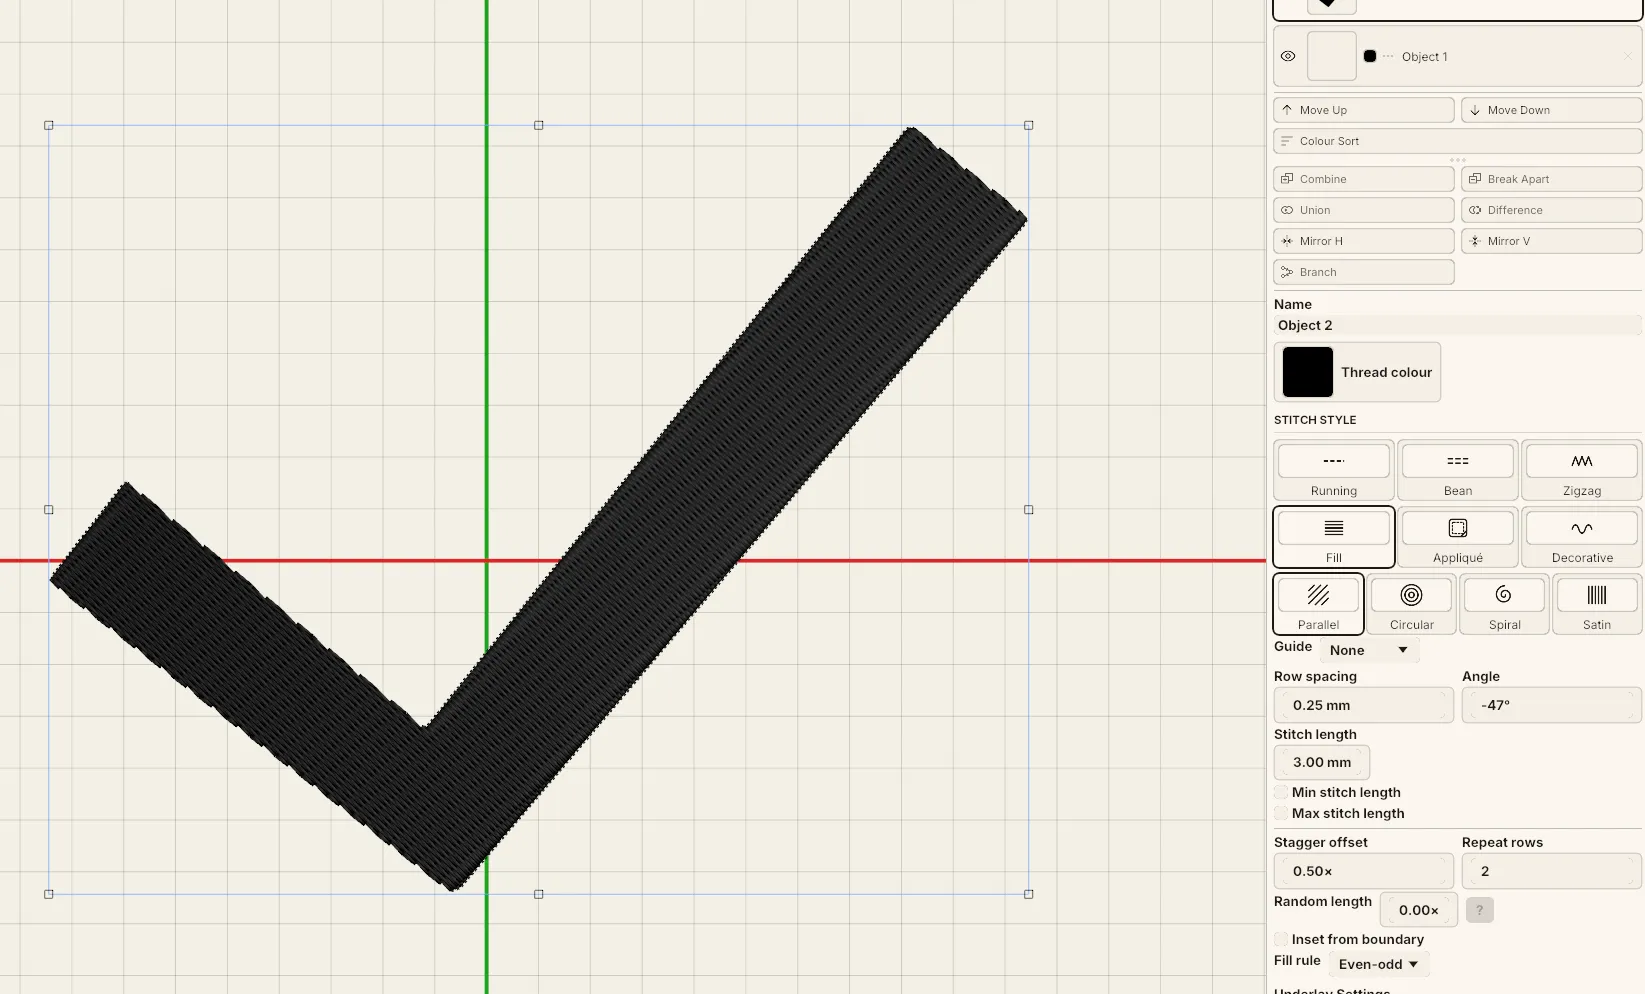 Choosing a stitch style in the Stitches tab and adjusting its settings.
4. Pick a thread colour
Section titled “4. Pick a thread colour”In the thread bar at the bottom, choose a brand palette (Madeira, Isacord, Robison-Anton, Sulky, Gunold or Brother) and click a swatch to colour your selected object. Working from a real brand library means what you see matches what you’ll sew. See Thread palettes.
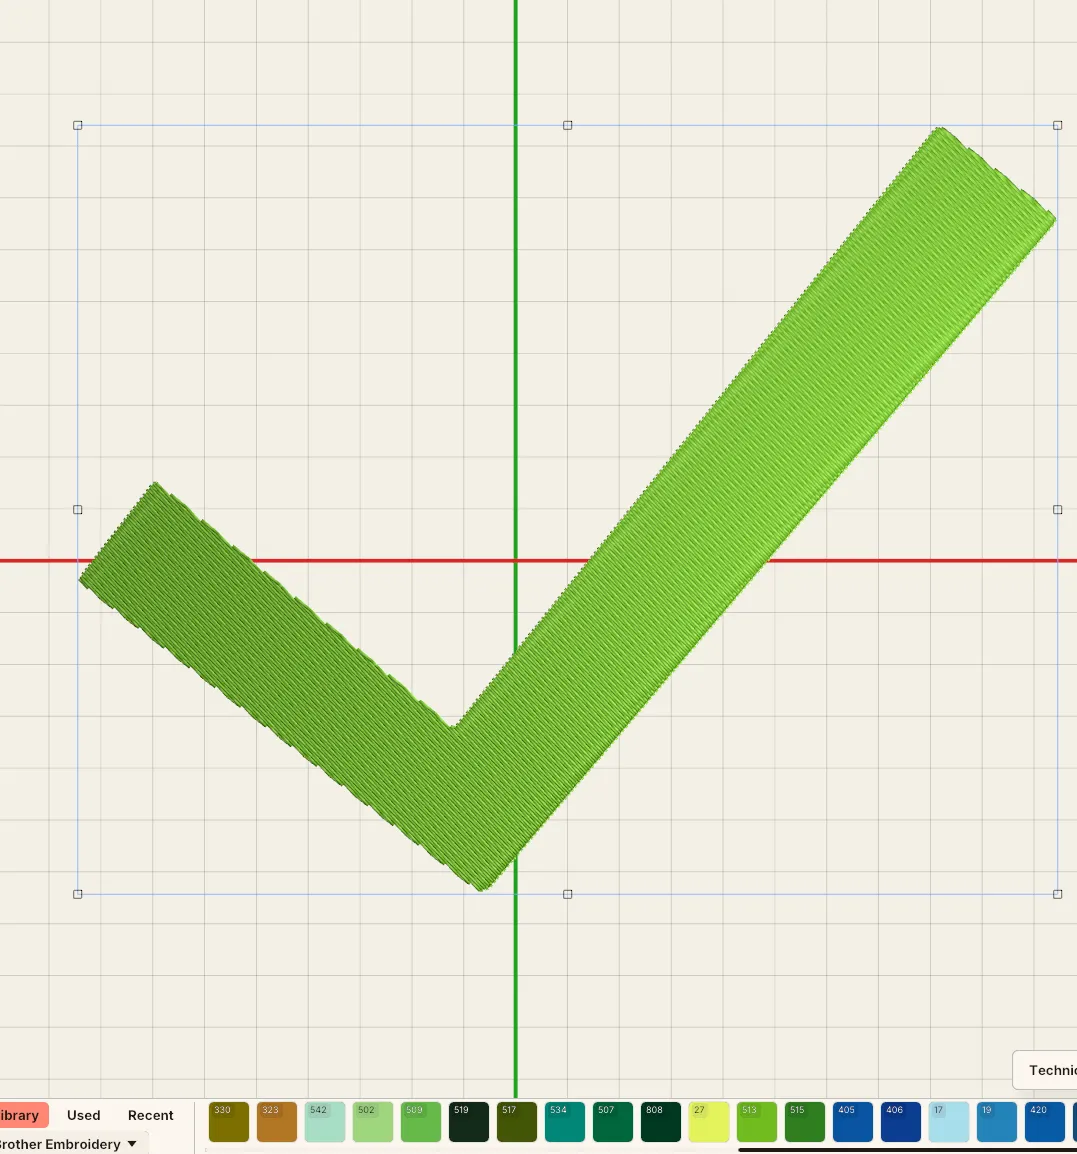 Applying a brand-palette swatch to the selected object.
5. Preview the stitch-out
Section titled “5. Preview the stitch-out”Switch to Simulation view and play it back to watch the design sew in order — a quick way to catch problems before you commit thread and fabric. See View modes.
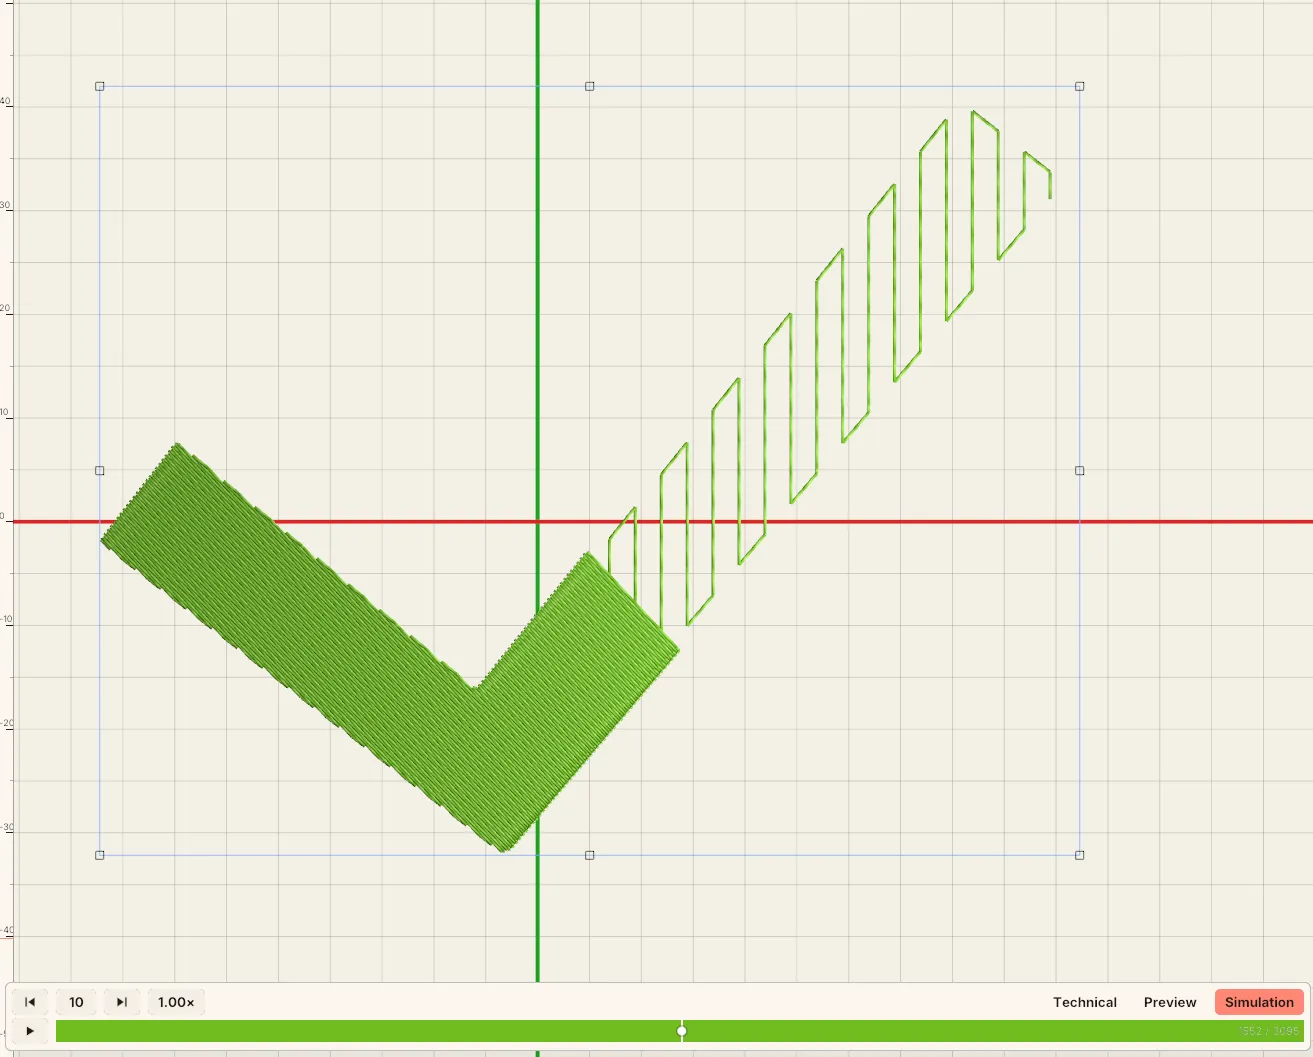 The design mid-playback in Simulation view.
6. Resize if you need to
Section titled “6. Resize if you need to”Scale the design and the stitches regenerate at the correct density — no thin gaps or pile-ups. See Density & resizing.
7. Save and export
Section titled “7. Save and export”- Save (
Ctrl S) keeps your editable design as an.ostchfile. - File → Export writes a machine file (PES, DST, JEF, VP3, EXP, XXX or HUS).
See Exporting.
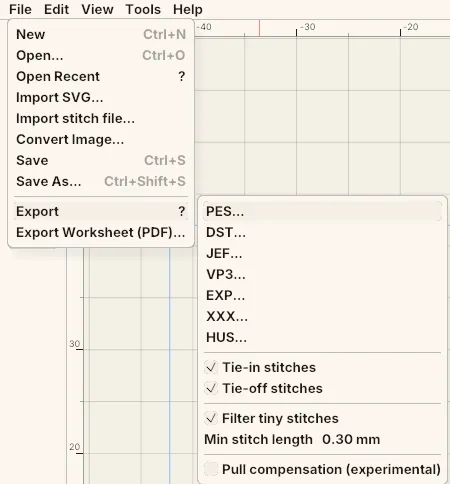 File → Export, with the machine-format list and export options.